Common Latte Art Mistakes (And How To Fix Them Without Crying In Foam)

Affiliate Disclosure: As an Amazon Associate, I earn from qualifying purchases. This post may also contain other affiliate links, meaning I may earn a small commission if you buy through them, at no extra cost to you. Your support helps keep this site running and allows me to continue sharing great content. Thank you!
Latte art has a way of turning an ordinary coffee break into something special. If your latest creation looks more like a random blob than a heart or a swan, don’t worry. I remember my early days with a lot of mistaken pours and uneven crema lines. The good news? Every mistake is a step forward in learning the art of crafting beautiful coffee.
This guide is designed to help anyone who’s frustrated by blobby hearts and shaky swans. You’ll find practical fixes, supportive tips, and a little coffee humor along the way.
Mistake #1: Perfecting Milk Texture
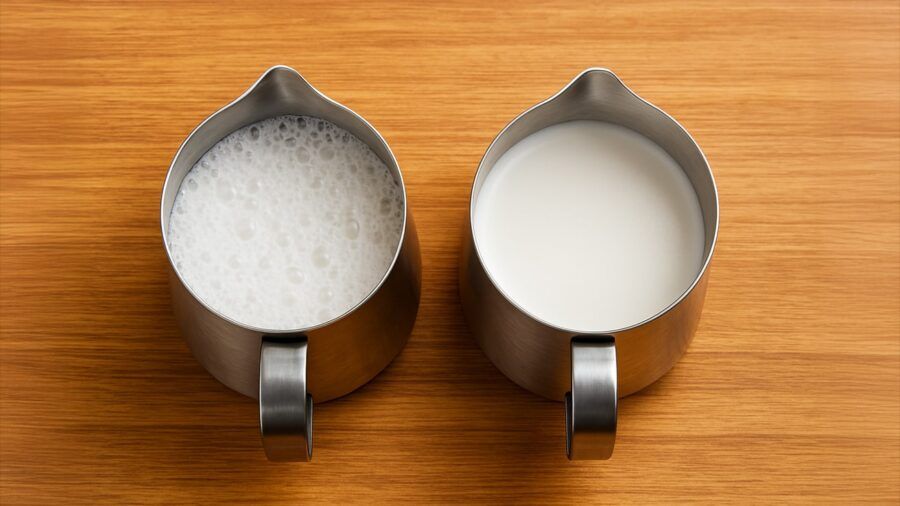
Too bubbly, and your pour becomes ragged. Too flat, and the design disappears. It’s all about getting that sweet spot: a texture like melted ice cream—smooth, silky, and paint-like.
Why does it happen:
- Over-whisking incorporates too much air
- Overheating breaks down milk proteins
- Using the wrong milk (low-fat or unstable alternatives)
The fix:
- Use whole milk or barista-formulated oat milk
- Froth until just before it feels too hot to touch
- Aim for a glossy finish with no large bubbles

Mistake #2: Mastering Pour Height
If your milk plunges under the crema instead of painting the surface, chances are you’re pouring from too high. That ruins the contrast, and your design vanishes into the cup.
The fix:
- Start higher to break the crema
- Then lower your pitcher as the cup fills
- Keep the motion steady and gentle, no milk waterfalls

Mistake #3: Finding the Right Pour Speed
Too fast = chaos. Too slow = ghost pattern. Finding a relaxed, rhythmic pour speed is key to better latte art.
The fix:
- Count mentally or set a beat to stay steady
- Practice pouring with water to get the motion right
- Adjust your wrist angle as needed
Mistake #4: Swirling Milk Like a Pro
Milk separates quickly. Without a quick swirl, you’ll pour thin milk first and foam later, uneven, messy, sad.
The fix:
- Swirl the milk pitcher gently before pouring
- Think of it like mixing paint; it ensures consistency
Mistake #5: Choosing the Right Cup
Size and shape matter more than you’d think. A wide, flat mug spreads the milk out and kills your chances of a clean design.
The fix:
- Use a smaller cup with a rounded base
- Helps your milk settle and gives more control when pouring
Pro Tip: Use a 6 to 8 oz cup while learning, bonus points if it’s ceramic and pre-warmed.
Mistake #6: Trying Advanced Designs Too Soon
The rosetta is advanced and temperamental. It demands precision, perfect milk texture, and control. That’s a tall order for day one.
The fix:
- Start with dots and hearts; they build muscle memory
- As you gain control, move on to tulips and finally rosettas
- Link: Check out our [How to Pour Latte Art] guide for beginners
Bonus Fixes That Improve Everything
- Practice with dish soap and water in your pitcher, zero pressure, all muscle memory
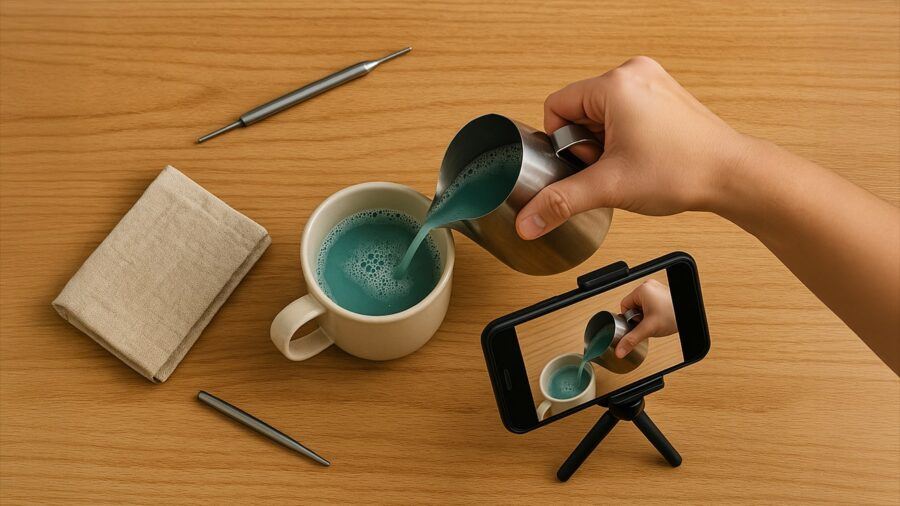
- Film your pour to catch wrist angles, height, and speed issues
- Tilt your cup slightly and keep your wrist relaxed for smoother flow
- Reuse milk a few times for practice, eco-friendly, and budget-friendly

Final Thoughts
Your “bad” pour? Still a beautiful moment in the making.
Every barista started with messy blobs and accidental swans. Latte art is about progress, not perfection. Keep pouring, keep sipping, and most importantly, keep smiling through the foam.
Latte art is a journey, not a judgment, especially in your first week of learning. Whether your tulip flops or your heart looks haunted, it’s all part of the fun.
Want to keep this reminder handy? Pin this post and come back to it whenever your milk gets sassy.
Have you had a funny latte art fail, or a surprising win? Drop it in the comments, I’d love to hear your pour story.

Sonia,
I may never be a barista. There comes a time in life when you begin to truly appreciate the finer points of a skilled craft. Someone who has taken the time to learn the nuances of becoming a great barista has certainly earned my admiration and thanks. I may not have the muscle control to become one myself, but I deeply enjoy the efforts of those who do.
— Jerry
Jerry, that’s beautifully said—and I wholeheartedly agree. You don’t have to wield a milk pitcher to appreciate the craft behind a well-poured tulip or heart. In fact, being the person who truly notices and values the details is its own kind of artistry.
Whether you’re the one creating the latte art or the one savoring it, both roles are part of what makes coffee culture so rich and rewarding. And honestly, even the most skilled baristas started with shaky hands and splattered crema—so your appreciation means more than you might think.
Thanks for sharing that perspective—it adds something really special to the conversation.
As someone who absolutely adores lattes and has always been fascinated by the beautiful art atop them, this post truly resonated with me! I’ve often wondered why my attempts at latte art end up looking more like abstract blobs than hearts or rosettas. Your breakdown of common mistakes—especially the tips about milk texture and pour height—was incredibly enlightening. Also, the suggestion to swirl the milk before pouring is something I hadn’t considered before; I’ll definitely be incorporating that into my practice.
Thank you for sharing these insights. You’ve given me renewed motivation to keep practicing—and perhaps one day, I’ll create latte art that matches the masterpieces I admire in cafés!
Those “abstract blobs” are a true latte art rite of passage—every home barista’s been there! The tips on milk texture and pour height can make all the difference once you get the hang of them, so it’s great to hear those stood out.
Swirling the milk is one of those subtle moves that’s surprisingly powerful—it keeps the texture consistent and helps your designs flow more cleanly onto the surface.
What kind of design are you hoping to conquer first—a classic heart, a tulip, maybe a cheeky swan? Whatever it is, the masterpieces you admire in cafés are totally within reach with a bit of practice (and probably a few more blobs along the way).
If you’re looking for a fun way to build momentum, I just put together a 7-Day Latte Art Challenge that walks you through bite-sized goals each day. No pressure, just a playful way to turn your daily latte into a creative win.